Building an iOS Plugin
For the purpose of the tutorial, it's assumed you already have an existing iOS application in which you have a feed or list of items.
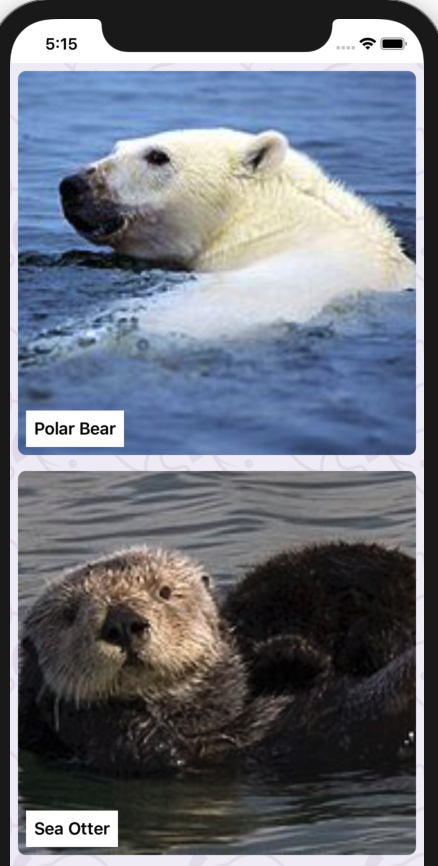
Part of what makes Flipper so useful is allowing users to inspect the internals of their app. This part of the tutorial is concerned with how to make data available to the Flipper desktop app, which, for the sake of this tutorial, is called 'Sea-mammals' (an app based on sea mammals).
You can find the source code for this tutorial on GitHub.
Creating a plugin
On iOS, a Flipper plugin is a class that implements the FlipperPlugin interface.
The interface consists of four methods:
(NSString *)identifier- specify a unique string so the JavaScript side knows where to talk to. This must match the name attribute in thepackage.json, which is examined later in the tutorial.(void)didConnect:(id<FlipperConnection>)connection- this method is called when the desktop client connects and is ready to receive or send data.(void)didDisconnect- sets connection to nil.(BOOL)runInBackground- unless this is true, only the currently selected plugin in the Flipper UI can communicate with the device. Its an optional method which you can override. The default value used isfalse.
The following code shows the implementation of these methods for the Sea-mammals app:
import Foundation
import FlipperKit

class SeaMammalsPlugin: NSObject, FlipperPlugin {
  var connection: FlipperConnection? = nil
  let mammals: [MarineMammal]

  init(_ marineMammals: [MarineMammal]) {
      mammals = marineMammals
  }

  func identifier() -> String! {
    return "Sea-mammals"
  }

  func didConnect(_ connection: FlipperConnection!) {
    self.connection = connection
    for (index, mammal) in mammals.enumerated() {
      connection.send("newRow", withParams: ["id": index, "title": mammal.name, "url": mammal.image.absoluteString])
    }
  }

  func didDisconnect() {
    connection = nil;
  }
}
There are two items of interest here: didConnect and connection.send, which sends a message to the desktop app and is identified with the name newRow.
For the Sea-mammals app, there is a static data source. However, in real life, you'll likely dynamically receive new data as the user interacts with the app. So, while in the Sea-mammals app, the data is sent all at once with didConnect, in real life, you'd set up a listener to call connection.send("newRow", params) as the dynamic data arrives.
In the above code, the withParams are just dictionary that contains the data that Sea-mammals sends over the wire to the desktop app.
Registering your plugin
Now all you need to do is let Flipper know about your new plugin. You do this by calling add on your FlipperClient, which is normally created at application startup:
let client = FlipperClient.shared()
// Add all sorts of other amazing plugins here ...
client?.add(SeaMammalsPlugin(MarineMammal.defaultList))
client?.start()
What next?
When starting your application, Flipper tells the desktop application about the plugin it supports (including 'Sea-mammals') and looks for a corresponding JavaScript plugin by the same name.